Generate PDFs in Node.js Using Puppeteer: Full Guide

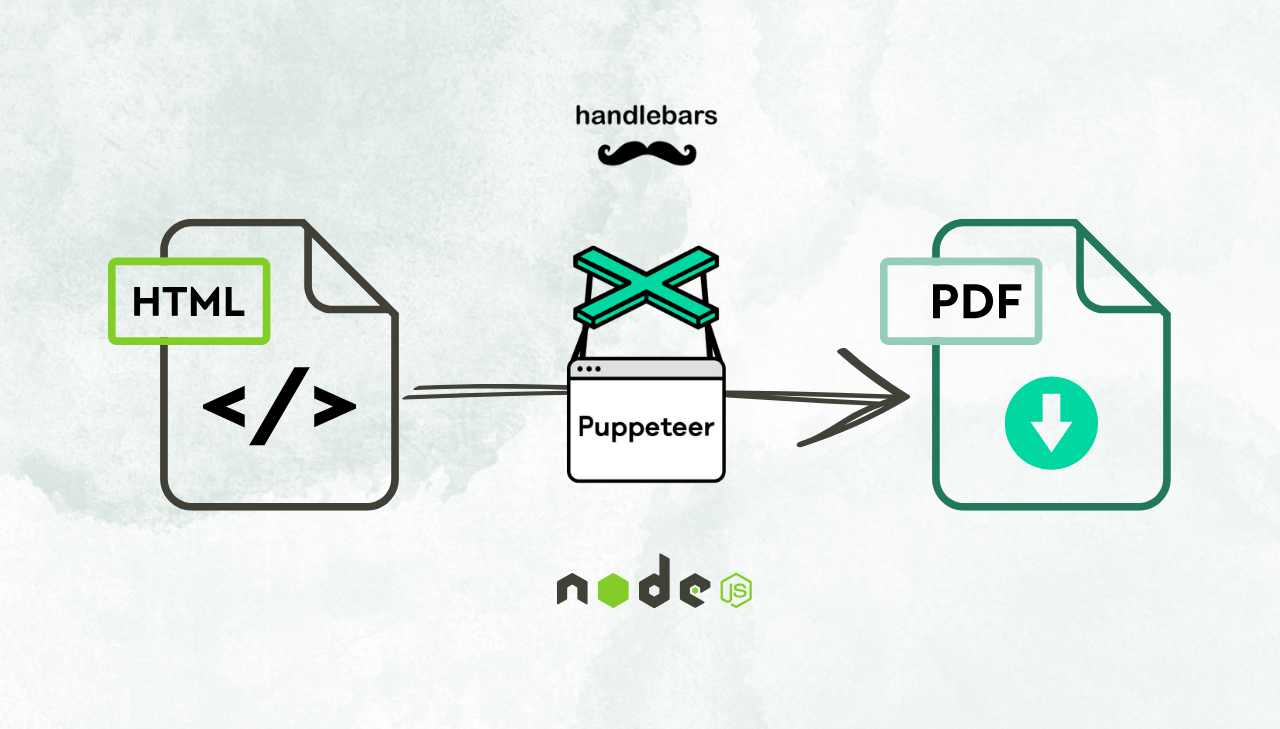
Generating invoice PDFs is a common requirement for web applications – whether for e-commerce, SaaS billing, or financial reporting. Puppeteer, a powerful headless browser automation tool for Node.js, makes it easy to convert HTML into high-quality PDFs. In this guide, we’ll walk you through setting up Puppeteer, designing an invoice with HTML and CSS, and generating a professional PDF.
What is Puppeteer?
Puppeteer is a Node.js library developed by the Google Chrome team, providing a high-level API to control both Chrome and Firefox. By default, it runs in headless mode – without a visible browser window – while also supporting a full browser environment when needed.
Puppeteer is widely used for web automation, testing, web scraping, screenshot capture, and HTML to PDF conversion.
Why Use Puppeteer for PDF Generation?
Puppeteer simplifies converting HTML into high-quality PDFs. Here are some of the key benefits:
- Modern Web Support – Renders CSS3, JavaScript, and dynamic content.
- Customizable – Configure page sizes, margins, headers, footers, and styling.
- Dynamic Rendering – Executes JavaScript to capture interactive elements (wkhtmltopdf has limited JS support by comparison).
- Free and Open-Source – A cost-effective alternative to tools like PrinceXML.
- Developer-Friendly – Integrates directly with Node.js for simple automation.
Step-by-Step Guide: Creating a PDF with Puppeteer
In this guide, we walk you through generating a professional invoice PDF by rendering a dynamic Handlebars template in Node.js and converting it into a high-quality PDF using Puppeteer.
Prerequisites
Before getting started, ensure you have installed Node.js and npm.
Step 1: Set Up the Project
- Create your project directory and navigate into it:
mkdir pdf-generation
cd pdf-generation
- Initialize a new Node.js project by generating a default
package.json:
npm init -y
- Install the necessary packages:
handlebarsfor templating andpuppeteerfor generating PDFs:
npm install handlebars puppeteer
Step 2: Organize Your Project Structure
For example, you might structure your project like this:
pdf-generation/
├── data/                   // Folder for storing data files
│   └── invoice-data.json   // JSON file containing invoice details
├── templates/              // Folder for your HTML templates
│   └── invoice.hbs         // Handlebars template for the invoice layout
├── generate-invoice.js     // Main script responsible for PDF generation
└── package.json            // Project configuration file
Step 3: Create a Handlebars Template
- Start the PDF generation process by creating an HTML template that defines your invoice’s layout.
- In this example, we use Handlebars – a flexible templating engine that makes it easy to build HTML using plain JavaScript. For alternatives, see our template engines overview.
- Save this template as
invoice.hbsin yourtemplatesdirectory. Ensure that your template includes dynamic placeholders for data injection.
Click to view example Handlebars template
    <!DOCTYPE html>
    <html lang="en">
    <head>
    <meta charset="UTF-8">
    <meta name="viewport" content="width=device-width, initial-scale=1.0">
    <title>Invoice</title>
    <style>
        @page {
            size: 9in 12in;
        }

        body {
            font-family: 'Arial', sans-serif;
            margin: 0;
            padding: 0;
            color: #333;
        }

        .invoice-container {
            max-width: 600px;
            margin: 40px auto;
            background: #fff;
            padding: 40px 60px;
        }

        .header {
            display: flex;
            justify-content: space-between;
            align-items: center;
            border-bottom: 2px solid #eaeaea;
            padding-bottom: 20px;
            margin-bottom: 20px;
        }

        .header .invoice-title {
            text-align: left;
        }

        .header .invoice-title h1 {
            font-size: 32px;
            font-weight: bold;
            color: #28a745;
        }

        .header .invoice-title p {
            margin: 5px 0;
            color: #555;
        }

        .header .logo {
            width: 200px
        }

        .details {
            margin-bottom: 30px;
        }

        .details .section {
            display: flex;
            justify-content: space-between;
            font-weight: bold;
        }

        .details .section div {
            width: 30%;
       }

       .details h2 {
           margin-bottom: 10px;
           color: #28a745;
           font-size: 20px;
       }

       .table {
            width: 100%;
            border-collapse: collapse;
            margin-bottom: 30px;
       }

       .table th, .table td {
            padding: 12px 15px;
            border: 1px solid #cacaca;
            text-align: left;
       }

       .table th {
            background-color: #e6eeec;
            color: #333;
            font-weight: bold;
       }

       .table .total {
            font-weight: bold;
            background-color: #e6eeec;
       }

       .footer {
            text-align: center;
            font-size: 14px;
            color: #777;
            margin-top: 20px;
       }
    </style>
    </head>
    <body>
    <div class="invoice-container">
        <div class="header">
            <div class="invoice-title">
                <h1>Invoice</h1>
                <p>Invoice: #{{invoiceNumber}}</p>
                <p>Date: {{invoiceDate}}</p>
            </div>
            <img class="logo" src={{companyLogo}} />
        </div>

        <div class="details">
            <div class="section">
                <div>
                    <h2>Billed To:</h2>
                    <p>{{billedToName}}</p>
                    <p>{{billedToAddress}}</p>
                    <p>{{billedToLocation}}</p>
                </div>
                <div>
                    <h2>Ship To:</h2>
                    <p>{{shipToName}}</p>
                    <p>{{shipToAddress}}</p>
                    <p>{{shipToLocation}}</p>
                </div>
            </div>
        </div>

        <table class="table">
            <thead>
            <tr>
                <th>Description</th>
                <th>Quantity</th>
                <th>Unit Price</th>
                <th>Total</th>
            </tr>
            </thead>
            <tbody>
            {{#each items}}
            <tr>
                <td>{{this.description}}</td>
                <td>{{this.quantity}}</td>
                <td>{{this.unitPrice}}</td>
                <td>{{this.total}}</td>
            </tr>
            {{/each}}
                </tbody>
                <tfoot>
                <tr>
                <td colspan="3" style="text-align: right;">Subtotal</td>
                <td>{{subtotal}}</td>
        </tr>
        <tr>
            <td colspan="3" style="text-align: right;">Tax ({{taxRate}}%)</td>
            <td>{{tax}}</td>
        </tr>
        <tr class="total">
            <td colspan="3" style="text-align: right;">Total</td>
            <td>{{totalAmount}}</td>
        </tr>
    </tfoot>
    </table>

    <div class="footer">
        <p>Thank you for your business!</p>
        <p>If you have any questions, please contact us at <a href="mailto:{{contactEmail}}">{{contactEmail}}</a>.</p>
    </div>
    </div>
</body>
</html>
Step 4: Add Invoice Data
-
Create a separate
JSONfile namedinvoice-data.jsonin thedatadirectory. -
This file will contain all the dynamic information that fills in the placeholders in your
invoice.hbstemplate.
Click to view an example of invoice data
{
    "invoiceNumber": "INV-20250405",
    "invoiceDate": "2025-04-05",
    "dueDate": "2025-04-20",
    "companyLogo": "https://img.pdfbolt.com/example-logo.jpg",
    "billedToName": "Alice Johnson",
    "billedToAddress": "789 Elm Street",
    "billedToLocation": "Springfield, USA",
    "shipToName": "GreenTech Solutions",
    "shipToAddress": "101 Innovation",
    "shipToLocation": "Tech City, USA",
    "contactEmail": "contact@pdfbolt.com",
    "items": [
    {
        "description": "Cloud Hosting",
        "quantity": 1,
        "unitPrice": "$150",
        "total": "$150"
    },
    {
        "description": "Monthly Maintenance Service",
        "quantity": 1,
        "unitPrice": "$80",
        "total": "$80"
    },
    {
        "description": "On-Demand Support",
        "quantity": 3,
        "unitPrice": "$60",
        "total": "$180"
    },
    {
        "description": "Website Design",
        "quantity": 1,
        "unitPrice": "$300",
        "total": "$300"
    },
    {
        "description": "SEO Audit",
        "quantity": 1,
        "unitPrice": "$200",
        "total": "$200"
    }
],
    "subtotal": "$910",
    "taxRate": "10",
    "tax": "$91",
    "totalAmount": "$1001"
}
Step 5: Create the PDF Generator Script
-
Now it's time to bring everything together by creating a script that transforms your dynamic invoice data and Handlebars template into a polished PDF.
-
This Node.js script will read the invoice data, compile your template into HTML, and then use Puppeteer to convert that HTML into a PDF file.
-
Save the following code as
generate-invoice.jsin your project directory.
Click to view the complete script
// Import required modules
const fs = require('fs');
const path = require('path');
const puppeteer = require('puppeteer');
const handlebars = require('handlebars');

// Load the invoice data from a JSON file located in the 'data' directory
const invoiceData = JSON.parse(
    fs.readFileSync(path.join(__dirname, 'data', 'invoice-data.json'), 'utf8')
);

(async () => {
    try {
        // Generate a unique timestamp for the output PDF file name
        const timestamp = new Date().toISOString().replace(/[:.]/g, '-');

        // Read and compile the Handlebars template from the 'templates' directory
        const templatePath = path.join(__dirname, 'templates', 'invoice.hbs');
        const templateSource = fs.readFileSync(templatePath, 'utf8');
        const template = handlebars.compile(templateSource);

        // Merge the invoice data with the template to produce the final HTML
        const html = template(invoiceData);

        // Launch Puppeteer in headless mode
        const browser = await puppeteer.launch();
        const page = await browser.newPage();

        // Set the generated HTML as the page content and wait for it to load completely
        await page.setContent(html, { waitUntil: 'networkidle0' });

        // Create a PDF from the HTML content and save it with a timestamped filename
        const pdfPath = `invoice-${timestamp}.pdf`;
        await page.pdf({
            path: pdfPath,
            format: 'A4',
            printBackground: true // Ensures background colors and images are included
            // Additional parameters can be added here if needed
        });

        // Close the browser after the PDF is generated.
        await browser.close();
        console.log(`PDF successfully created at: ${pdfPath}`);
    } catch (error) {
        console.error('An error occurred while generating the invoice:', error);
    }
})();
Step 6: Execute the Script
Launch your terminal and change to your project directory:
cd pdf-generation
Then, run the script:
node generate-invoice.js
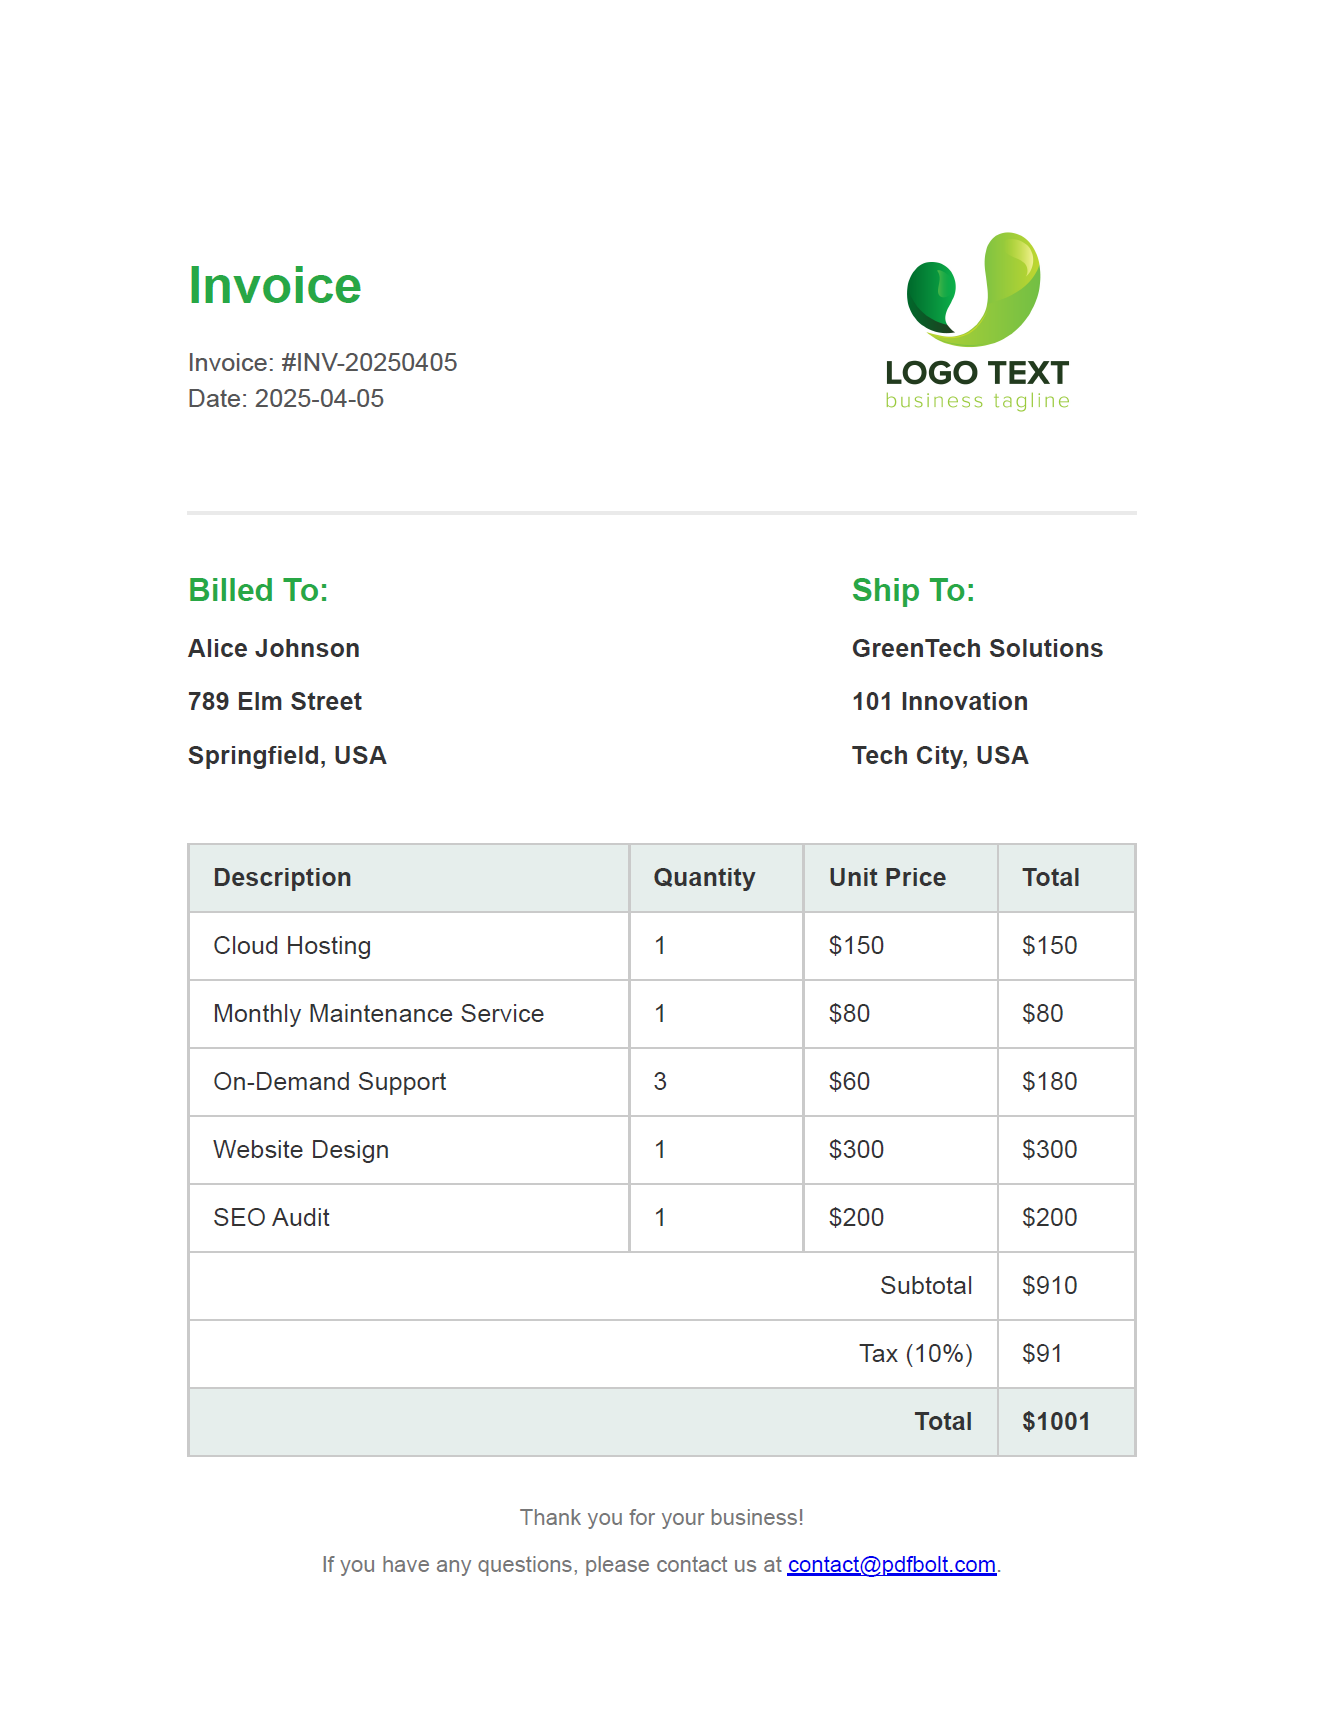
Step 7: Verify the Result
Once the script completes, a new file named invoice-<timestamp>.pdf will appear in your project directory. This file is your generated invoice PDF. Open it to confirm that all elements and formatting are rendered correctly.
Click to preview the invoice PDF
PDF Formatting Options in Puppeteer
Puppeteer offers a range of settings to fine-tune your PDF's appearance. Below is a table summarizing some popular options:
| Option | Description |
|---|---|
| Page Size or Format | Use standard sizes (e.g., A4, A3, Letter) or set custom dimensions using width and height. |
| Margins | Specify top, right, bottom, and left margins. |
| Background | Include background colors and images (disabled by default). |
| Orientation | Switch between portrait (default) and landscape modes. |
| Header and Footer Customization | Add custom headers/footers with HTML templates or dynamic elements. |
| CSS Page Size Preference | Honor the CSS @page size defined in your document instead of overriding it with the format option. |
These options give you full control over your PDF output.
Example usage of these parameters:
await page.pdf({
    format: 'A4',               // Use standard A4 size
    margin: {                   // Set custom margins
        top: '20px',
        right: '20px',
        bottom: '20px',
        left: '20px'
    },
    printBackground: true,      // Include background colors and images
    preferCSSPageSize: true,    // Respect CSS @page size if defined in the HTML
    displayHeaderFooter: true,  // Enable custom header and footer
    headerTemplate: '<div style="font-size:10px; text-align:center; width:100%;">Custom Header</div>',
    footerTemplate: '<div style="font-size:10px; text-align:center; width:100%;">Page <span class="pageNumber"></span> of <span class="totalPages"></span></div>',
});
Puppeteer Alternatives for PDF Generation
While Puppeteer is a solid choice for creating PDFs, there are alternatives depending on your stack:
- Playwright – A similar API with multi-browser support. See our Playwright invoice PDF tutorial.
- PDFKit – A code-first Node.js library for building PDFs programmatically. See our PDFKit guide.
- pdfmake – Declarative PDF generation with JSON layout definitions. See our pdfmake guide.
- jsPDF – Client-side PDF generation directly in the browser. See our jsPDF guide.
For a full comparison, see Top Node.js HTML to PDF Libraries Compared.
Simpler Alternative: PDFBolt Templates
If you want the same professional results with less setup, PDFBolt Templates is worth a look.
What Makes PDFBolt Templates Different?
Templates allow you to:
- Separate design from data - Create reusable layouts once, populate with different data.
- Send only template ID and JSON data - No need to transmit complete HTML content with each request.
- Scale without infrastructure - Handle high-volume PDF generation without managing browser instances or memory – PDFBolt's API handles it.
- Use the same templating - Handlebars syntax you're already familiar with.
Creating the Same Invoice with PDFBolt Templates
If you'd like to try the template approach:
- Sign up for a free PDFBolt account.
- Create your first template.
Instead of a local .hbs file, you create the template in PDFBolt's visual designer.
The HTML structure remains identical to your Puppeteer version – the same Handlebars syntax and styling approach.
Click to view the template code
    <!DOCTYPE html>
    <html lang="en">
    <head>
    <meta charset="UTF-8">
    <meta name="viewport" content="width=device-width, initial-scale=1.0">
    <title>Invoice</title>
    <style>

        body {
            font-family: 'Arial', sans-serif;
            margin: 0;
            padding: 0;
            color: #333;
        }

        .invoice-container {
            max-width: 600px;
            margin: 40px auto;
            background: #fff;
            padding: 40px 60px;
        }

        .header {
            display: flex;
            justify-content: space-between;
            align-items: center;
            border-bottom: 2px solid #eaeaea;
            padding-bottom: 20px;
            margin-bottom: 20px;
        }

        .header .invoice-title {
            text-align: left;
        }

        .header .invoice-title h1 {
            font-size: 32px;
            font-weight: bold;
            color: #28a745;
        }

        .header .invoice-title p {
            margin: 5px 0;
            color: #555;
        }

        .header .logo {
            width: 200px
        }

        .details {
            margin-bottom: 30px;
        }

        .details .section {
            display: flex;
            justify-content: space-between;
            font-weight: bold;
        }

        .details .section div {
            width: 30%;
       }

       .details h2 {
           margin-bottom: 10px;
           color: #28a745;
           font-size: 20px;
       }

       .table {
            width: 100%;
            border-collapse: collapse;
            margin-bottom: 30px;
       }

       .table th, .table td {
            padding: 12px 15px;
            border: 1px solid #cacaca;
            text-align: left;
       }

       .table th {
            background-color: #e6eeec;
            color: #333;
            font-weight: bold;
       }

       .table .total {
            font-weight: bold;
            background-color: #e6eeec;
       }

       .footer {
            text-align: center;
            font-size: 14px;
            color: #777;
            margin-top: 20px;
       }
    </style>
    </head>
    <body>
    <div class="invoice-container">
        <div class="header">
            <div class="invoice-title">
                <h1>Invoice</h1>
                <p>Invoice: #{{invoiceNumber}}</p>
                <p>Date: {{invoiceDate}}</p>
            </div>
            <img class="logo" src={{companyLogo}} />
        </div>

        <div class="details">
            <div class="section">
                <div>
                    <h2>Billed To:</h2>
                    <p>{{billedToName}}</p>
                    <p>{{billedToAddress}}</p>
                    <p>{{billedToLocation}}</p>
                </div>
                <div>
                    <h2>Ship To:</h2>
                    <p>{{shipToName}}</p>
                    <p>{{shipToAddress}}</p>
                    <p>{{shipToLocation}}</p>
                </div>
            </div>
        </div>

        <table class="table">
            <thead>
            <tr>
                <th>Description</th>
                <th>Quantity</th>
                <th>Unit Price</th>
                <th>Total</th>
            </tr>
            </thead>
            <tbody>
            {{#each items}}
            <tr>
                <td>{{this.description}}</td>
                <td>{{this.quantity}}</td>
                <td>{{this.unitPrice}}</td>
                <td>{{this.total}}</td>
            </tr>
            {{/each}}
                </tbody>
                <tfoot>
                <tr>
                <td colspan="3" style="text-align: right;">Subtotal</td>
                <td>{{subtotal}}</td>
        </tr>
        <tr>
            <td colspan="3" style="text-align: right;">Tax ({{taxRate}}%)</td>
            <td>{{tax}}</td>
        </tr>
        <tr class="total">
            <td colspan="3" style="text-align: right;">Total</td>
            <td>{{totalAmount}}</td>
        </tr>
    </tfoot>
    </table>

    <div class="footer">
        <p>Thank you for your business!</p>
        <p>If you have any questions, please contact us at <a href="mailto:{{contactEmail}}">{{contactEmail}}</a>.</p>
    </div>
    </div>
</body>
</html>
-
Test with sample data in the app to verify the output.
-
Publish the template and get your template ID.
-
Generate PDFs with Simple API Calls.
Here's the Node.js code that replaces our entire Puppeteer setup.
Click to view the Node.js code
const fs = require('fs');

const invoiceData = {
    "invoiceNumber": "INV-20250405",
    "invoiceDate": "2025-04-05",
    "companyLogo": "https://img.pdfbolt.com/example-logo.jpg",
    "billedToName": "Alice Johnson",
    "billedToAddress": "789 Elm Street",
    "billedToLocation": "Springfield, USA",
    "shipToName": "GreenTech Solutions",
    "shipToAddress": "101 Innovation Drive",
    "shipToLocation": "Tech City, USA",
    "contactEmail": "contact@pdfbolt.com",
    "items": [
        {
            "description": "Cloud Hosting",
            "quantity": 1,
            "unitPrice": "$150",
            "total": "$150"
        },
        {
            "description": "Monthly Maintenance Service",
            "quantity": 1,
            "unitPrice": "$80",
            "total": "$80"
        },
        {
            "description": "On-Demand Support",
            "quantity": 3,
            "unitPrice": "$60",
            "total": "$180"
        },
        {
            "description": "Website Design",
            "quantity": 1,
            "unitPrice": "$300",
            "total": "$300"
        },
        {
            "description": "SEO Audit",
            "quantity": 1,
            "unitPrice": "$200",
            "total": "$200"
        }
    ],
    "subtotal": "$910",
    "taxRate": "10",
    "tax": "$91",
    "totalAmount": "$1001"
};

async function generateInvoice() {
    const response = await fetch('https://api.pdfbolt.com/v1/direct', {
        method: 'POST',
        headers: {
            'API-KEY': 'XXXXXXXX-XXXX-XXXX-XXXX-XXXXXXXXXXXX',
            'Content-Type': 'application/json'
        },
        body: JSON.stringify({
            templateId: 'your-template-id',
            templateData: invoiceData
        })
    });

    if (!response.ok) {
        const errorText = await response.text();
        throw new Error(`HTTP ${response.status} - ${errorText}`);
    }

    const pdfBuffer = await response.arrayBuffer();
    const timestamp = new Date().toISOString().replace(/[:.]/g, '-');
    const filename = `invoice-${timestamp}.pdf`;

    fs.writeFileSync(filename, Buffer.from(pdfBuffer));
    console.log(`PDF successfully created: ${filename}`);
}

generateInvoice().catch(console.error);
The result is the same professional PDF, but with significantly less complexity and better maintainability.
Already have your HTML ready and don't need reusable templates? PDFBolt's HTML to PDF API lets you send raw HTML and get a PDF back. No template setup required. See the Node.js quick start guide for examples.
Conclusion
This guide covered how to generate invoice PDFs using Node.js, Puppeteer, and Handlebars – from setting up the project to producing the final PDF file.
If you need full control over the rendering pipeline, Puppeteer gives you that. If you'd rather skip the browser management and focus on your application logic, PDFBolt Templates handle the heavy lifting through an API. You can also convert live webpages directly with the URL to PDF API.
Comparing Puppeteer with a managed API? See PDFBolt vs Puppeteer.
Good luck and happy coding! 🙃