Java HTML to PDF with iText and FreeMarker: Complete Guide

Need to convert HTML to PDF in Java? iText paired with FreeMarker is one of the most popular approaches to Java PDF generation. This tutorial walks through a complete example – building a certificate generator that turns an HTML template into a finished PDF, with all the code you need to get started.
Understanding iText for Java PDF Generation
What is iText?
iText is a PDF library for Java and .NET that lets you create, edit, and process PDF documents programmatically. Originally created by Bruno Lowagie, it has become one of the most widely used PDF libraries in enterprise applications.
iText is distributed under the AGPL license for its open-source version. This means applications using iText must also be released under AGPL, making your source code publicly available. For commercial applications where you cannot or do not want to open-source your code, iText offers commercial licensing options through iText Software.
Why Choose iText for PDF Generation?
iText supports custom layouts, document encryption, digital signatures, and form fields. It handles high-volume PDF generation well, which makes it a common choice in enterprise and SaaS applications. It also integrates with template engines like FreeMarker, so you can separate document design from data logic.
Why Combine iText and FreeMarker for PDF Generation?
iText handles the HTML to PDF conversion, while FreeMarker handles the templating – you write your document layout in HTML/CSS and inject data through placeholders. This separation keeps your code maintainable and your templates reusable across certificates, reports, invoices, and other documents. For a broader comparison of template engines you can use for PDF generation, see HTML template engines comparison.
Certificate Generation with iText and FreeMarker
This example generates a course completion certificate using FreeMarker for templating and iText for PDF conversion.
Setting Up Your Java Environment
Make sure you have the following tools installed before starting.
| Requirement | Recommendation & Download Links |
|---|---|
| JDK | Install JDK 16 or higher. Download from Oracle JDK or Eclipse Adoptium. |
| Dependency Management | Use Maven or Gradle. Get Maven from Maven Downloads or Gradle from Gradle Releases. |
| IDE | Use IntelliJ IDEA – my personal recommendation – or consider alternatives like Eclipse and NetBeans. |
Adding Required Dependencies
Set up a Java project with the following dependencies.
Maven Dependencies
<dependency>
    <groupId>com.itextpdf</groupId>
    <artifactId>html2pdf</artifactId>
    <version>6.2.0</version>
</dependency>

<dependency>
    <groupId>org.freemarker</groupId>
    <artifactId>freemarker</artifactId>
    <version>2.3.31</version>
</dependency>
Gradle Dependencies
dependencies {
    implementation 'com.itextpdf:html2pdf:6.2.0'
    implementation 'org.freemarker:freemarker:2.3.31'
}
Project Structure
For this certificate generation example, the following project structure is recommended:
certificate-generator/
├── pom.xml (or build.gradle)
├── src/
│   ├── main/
│   │   ├── java/
│   │   │   └── com/
│   │   │       └── example/
│   │   │           ├── model/
│   │   │           │   └── Certificate.java
│   │   │           ├── service/
│   │   │           │   ├── CertificateGenerator.java
│   │   │           │   ├── PdfConverter.java
│   │   │           │   └── CertificateService.java
│   │   │           └── Application.java
│   │   └── resources/
│   │       ├── templates/
│   │       │   └── certificate-template.html
│   │       └── images/
│   │           ├── logo.png
│   │           └── badge.png
│   └── test/
└── target/ (or build/)
Step 1: Create an HTML Template with FreeMarker
The HTML template defines the certificate layout and styling. FreeMarker placeholders mark where dynamic data gets inserted.
This template will be placed in src/main/resources/templates/certificate-template.html.
certificate-template.html
<!DOCTYPE html>
<html lang="en">
<head>
    <meta charset="UTF-8"/>
    <title>Certificate of Completion</title>
    <style>
        @page {
            margin: 0;
        }

        body, html {
            margin: 0;
            padding: 0;
            font-family: Georgia, serif;
        }

        .certificate {
            border: 20px solid #975D2D;
            text-align: center;
            background-image: linear-gradient(120deg, #fdfbfb 0%, #fbf6e9 100%);
        }

        .content {
            padding: 20px 30px;
        }

        .logo {
            display: block;
            width: 220px;
            height: auto;
            margin: 10px auto 20px;
        }

        .title {
            font-size: 50px;
            color: #975D2D;
            text-transform: uppercase;
            margin: 10px 0 20px;
            letter-spacing: 4px;
            font-weight: bold;
        }

        .subtitle {
            font-size: 28px;
            color: #975D2D;
            margin: 20px 0;
            font-weight: normal;
        }

        .decorative-line {
            width: 300px;
            height: 1px;
            background-color: #C9AA81;
            margin: 15px auto;
        }

        .intro-text {
            font-size: 22px;
            margin: 35px 0 20px;
        }

        .recipient {
            font-size: 40px;
            font-style: italic;
            margin: 15px 0;
        }

        .course-text {
            font-size: 22px;
            margin: 40px 0 25px;
        }

        .course-name {
            font-size: 28px;
            font-weight: bold;
            color: #975D2D;
        }

        .footer-table {
            width: 100%;
            margin-top: 42px;
            border-collapse: collapse;
        }


        .footer-table td {
            width: 33.33%;
            text-align: center;
            vertical-align: bottom;
            padding: 5px 10px;
        }

        .footer-value {
            font-size: 20px;
            font-style: italic;
            margin: 0;
        }

        .footer-line {
            width: 130px;
            height: 1px;
            background-color: #C9AA81;
            margin: 15px auto;
        }

        .footer-label {
            font-size: 14px;
            color: #666;
            text-transform: uppercase;
            letter-spacing: 1px;
            margin: 0;
        }

        .badge {
            width: 120px;
            height: auto;
        }
    </style>
</head>
<body>
<div class="certificate">
    <div class="content">
        <img src="${logo_url}" class="logo" alt="Coffee Academy">

        <h1 class="title">Certificate</h1>
        <div class="decorative-line"></div>
        <h2 class="subtitle">of Completion</h2>

        <p class="intro-text">This certificate is proudly presented to</p>
        <p class="recipient">${recipient_name}</p>
        <div class="decorative-line"></div>

        <p class="course-text">For successfully completing the course:</p>
        <p class="course-name">${course_name}</p>

        <table class="footer-table">
            <tr>
                <td>
                    <p class="footer-value">${date}</p>
                    <div class="footer-line"></div>
                    <p class="footer-label">Date</p>
                </td>
                <td>
                    <img src="${badge_url}" class="badge" alt="Badge">
                </td>
                <td>
                    <p class="footer-value">${instructor}</p>
                    <div class="footer-line"></div>
                    <p class="footer-label">Instructor</p>
                </td>
            </tr>
        </table>
    </div>
</div>
</body>
</html>
Key points about the template:
- Uses standard HTML and CSS for styling.
- Contains FreeMarker placeholders like
${recipient_name}that will be replaced with actual data. - Includes styling for print with the
@pagerule.
Step 2: Create the Certificate Data Model
A Java record holds the certificate data.
This will be placed in src/main/java/com/example/model/Certificate.java.
Certificate.java
package com.example.model;

import java.util.Date;

public record Certificate(
    String recipientName,
    String courseName,
    Date issueDate,
    String instructor,
    String logoUrl,
    String badgeUrl
) {

    // Compact constructor for validation if needed
    public Certificate {
        if (recipientName == null || recipientName.isBlank()) {
            throw new IllegalArgumentException("Recipient name cannot be null or blank");
        }
        if (courseName == null || courseName.isBlank()) {
            throw new IllegalArgumentException("Course name cannot be null or blank");
        }
        if (issueDate == null) {
            throw new IllegalArgumentException("Issue date cannot be null");
        }
        if (instructor == null || instructor.isBlank()) {
            throw new IllegalArgumentException("Instructor cannot be null or blank");
        }
    }
}
The Certificate record:
- Performs validation in its compact constructor.
- Uses Java's record feature (available in Java 16+) for concise data modeling.
Step 3: Create the FreeMarker Template Processor
The template processor loads the HTML file and fills in the FreeMarker placeholders with certificate data.
This will be placed in src/main/java/com/example/service/CertificateGenerator.java.
CertificateGenerator.java
package com.example.service;

import com.example.model.Certificate;
import freemarker.template.Configuration;
import freemarker.template.Template;
import freemarker.template.TemplateException;
import freemarker.template.TemplateExceptionHandler;

import java.io.IOException;
import java.io.StringWriter;
import java.io.Writer;
import java.text.SimpleDateFormat;
import java.util.HashMap;
import java.util.Map;
import java.util.Locale;

public class CertificateGenerator {

    private final Configuration freemarkerConfig;

    public CertificateGenerator() {
        // Initialize FreeMarker configuration
        freemarkerConfig = new Configuration(Configuration.VERSION_2_3_31);
        freemarkerConfig.setClassLoaderForTemplateLoading(getClass().getClassLoader(), "templates");
        freemarkerConfig.setDefaultEncoding("UTF-8");
        freemarkerConfig.setTemplateExceptionHandler(TemplateExceptionHandler.RETHROW_HANDLER);
    }

    public String generateHtml(Certificate certificate) throws IOException, TemplateException {
        // Load the template
        Template template = freemarkerConfig.getTemplate("certificate-template.html");

        // Create a data model and populate it with certificate data
        Map<String, Object> dataModel = new HashMap<>();
        dataModel.put("recipient_name", certificate.recipientName());
        dataModel.put("course_name", certificate.courseName());

        // Format the date
        SimpleDateFormat dateFormat = new SimpleDateFormat("MMMM dd, yyyy", Locale.ENGLISH);
        dataModel.put("date", dateFormat.format(certificate.issueDate()));

        dataModel.put("instructor", certificate.instructor());

        // Use relative paths for images
        dataModel.put("logo_url", certificate.logoUrl());
        dataModel.put("badge_url", certificate.badgeUrl());

        // Process the template with the data model
        Writer out = new StringWriter();
        template.process(dataModel, out);
        return out.toString();
    }
}
What this class does:
- Initializes the FreeMarker configuration.
- Loads the HTML template from the resources directory.
- Creates a data model with the certificate information.
- Processes the template with the data to generate the final HTML.
Step 4: Create the PDF Converter with iText
This class takes the generated HTML string and converts it to a PDF file using iText.
This will be placed in src/main/java/com/example/service/PdfConverter.java.
PdfConverter.java
package com.example.service;

import com.itextpdf.html2pdf.ConverterProperties;
import com.itextpdf.html2pdf.HtmlConverter;
import com.itextpdf.html2pdf.resolver.font.DefaultFontProvider;
import com.itextpdf.kernel.geom.PageSize;
import com.itextpdf.kernel.pdf.PdfDocument;
import com.itextpdf.kernel.pdf.PdfWriter;

import java.io.File;
import java.io.FileOutputStream;
import java.io.IOException;
import java.nio.file.Files;
import java.nio.file.Path;
import java.nio.file.Paths;

public class PdfConverter {

    public void convertHtmlToPdf(String html, String outputPath, String baseUri) throws IOException {
        // Ensure output directory exists
        Path path = Paths.get(outputPath);
        Path parent = path.getParent();
        if (parent != null) {
            Files.createDirectories(parent);
        }

        try (FileOutputStream outputStream = new FileOutputStream(outputPath)) {
            // Create PDF writer and document
            PdfWriter writer = new PdfWriter(outputStream);
            PdfDocument pdf = new PdfDocument(writer);

            // Set to A4 landscape
            pdf.setDefaultPageSize(PageSize.A4.rotate());

            // Configure converter properties
            ConverterProperties properties = new ConverterProperties();
            DefaultFontProvider fontProvider = new DefaultFontProvider(true, true, false);
            properties.setFontProvider(fontProvider);

            // Set base URI for resolving image paths
            if (baseUri != null) {
                properties.setBaseUri(baseUri);
            }

            // Convert HTML to PDF
            HtmlConverter.convertToPdf(html, pdf, properties);
        }
    }
}
Key features of this converter:
- Uses iText's HtmlConverter to transform HTML into PDF.
- Sets PDF properties like page size (A4 landscape for certificates).
- Configures font handling with DefaultFontProvider.
- Handles image paths with baseUri.
- Creates output directories if they don't exist.
Step 5: Create the Certificate Service
The service class ties the template processor and PDF converter together.
This will be placed in src/main/java/com/example/service/CertificateService.java.
CertificateService.java
package com.example.service;

import com.example.model.Certificate;
import freemarker.template.TemplateException;

import java.io.File;
import java.io.IOException;

public class CertificateService {

    private final CertificateGenerator certificateGenerator;
    private final PdfConverter pdfConverter;

    public CertificateService() {
        this.certificateGenerator = new CertificateGenerator();
        this.pdfConverter = new PdfConverter();
    }

    public void generateCertificatePdf(Certificate certificate, String outputPath) throws IOException, TemplateException {
        // Generate HTML from template with certificate data
        String html = certificateGenerator.generateHtml(certificate);

        // Convert HTML to PDF with resource base path
        String baseDir = new File("src/main/resources").getAbsolutePath();
        pdfConverter.convertHtmlToPdf(html, outputPath, baseDir);
    }
}
This service:
- Initializes both the FreeMarker template processor and iText PDF converter.
- Provides a simple interface to generate PDFs from certificate data.
- Handles resource paths correctly by setting the base directory.
Step 6: Create the Main Application
The main class creates a sample certificate and generates the PDF:
Application.java
package com.example;

import com.example.model.Certificate;
import com.example.service.CertificateService;

import java.io.File;
import java.text.SimpleDateFormat;
import java.util.Date;

public class Application {

    public static void main(String[] args) {
        try {
            // Use file paths to reference images
            String logoPath = "images/logo.png";
            String badgePath = "images/badge.png";

            // Certificate data
            String recipientName = "John Arabica";
            String courseName = "Advanced Barista Techniques";

            // Format date
            SimpleDateFormat dateFormat = new SimpleDateFormat("yyyy-MM-dd");
            Date issueDate = dateFormat.parse("2025-03-28");

            String instructor = "Prof. James Bean";

            // Create certificate using the record constructor
            Certificate certificate = new Certificate(
                    recipientName,
                    courseName,
                    issueDate,
                    instructor,
                    logoPath,
                    badgePath
             );

            // Generate timestamp for the filename
            SimpleDateFormat timestampFormat = new SimpleDateFormat("yyyyMMdd_HHmmss");
            String timestamp = timestampFormat.format(new Date());

            // Create filename with recipient name and timestamp
            String sanitizedName = recipientName.replaceAll("\\s+", "_");
            String filename = sanitizedName + "_" + timestamp + ".pdf";

            // Set output path with the dynamic filename
            String outputPath = "certificates/" + filename;

            // Create the directory if it doesn't exist
            File outputDir = new File("certificates");
            if (!outputDir.exists()) {
                outputDir.mkdirs();
            }

            // Generate the certificate
            CertificateService certificateService = new CertificateService();
            certificateService.generateCertificatePdf(certificate, outputPath);

            System.out.println("Certificate generated successfully for " + recipientName);
            System.out.println("PDF saved to: " + new File(outputPath).getAbsolutePath());

        } catch (Exception e) {
            System.err.println("Error generating certificate: " + e.getMessage());
            e.printStackTrace();
        }
    }
}
This demonstrates:
- How to create a Certificate instance with all required data.
- Setting up paths for resources and output files.
- Using the
CertificateServiceto generate the PDF. - Proper error handling.
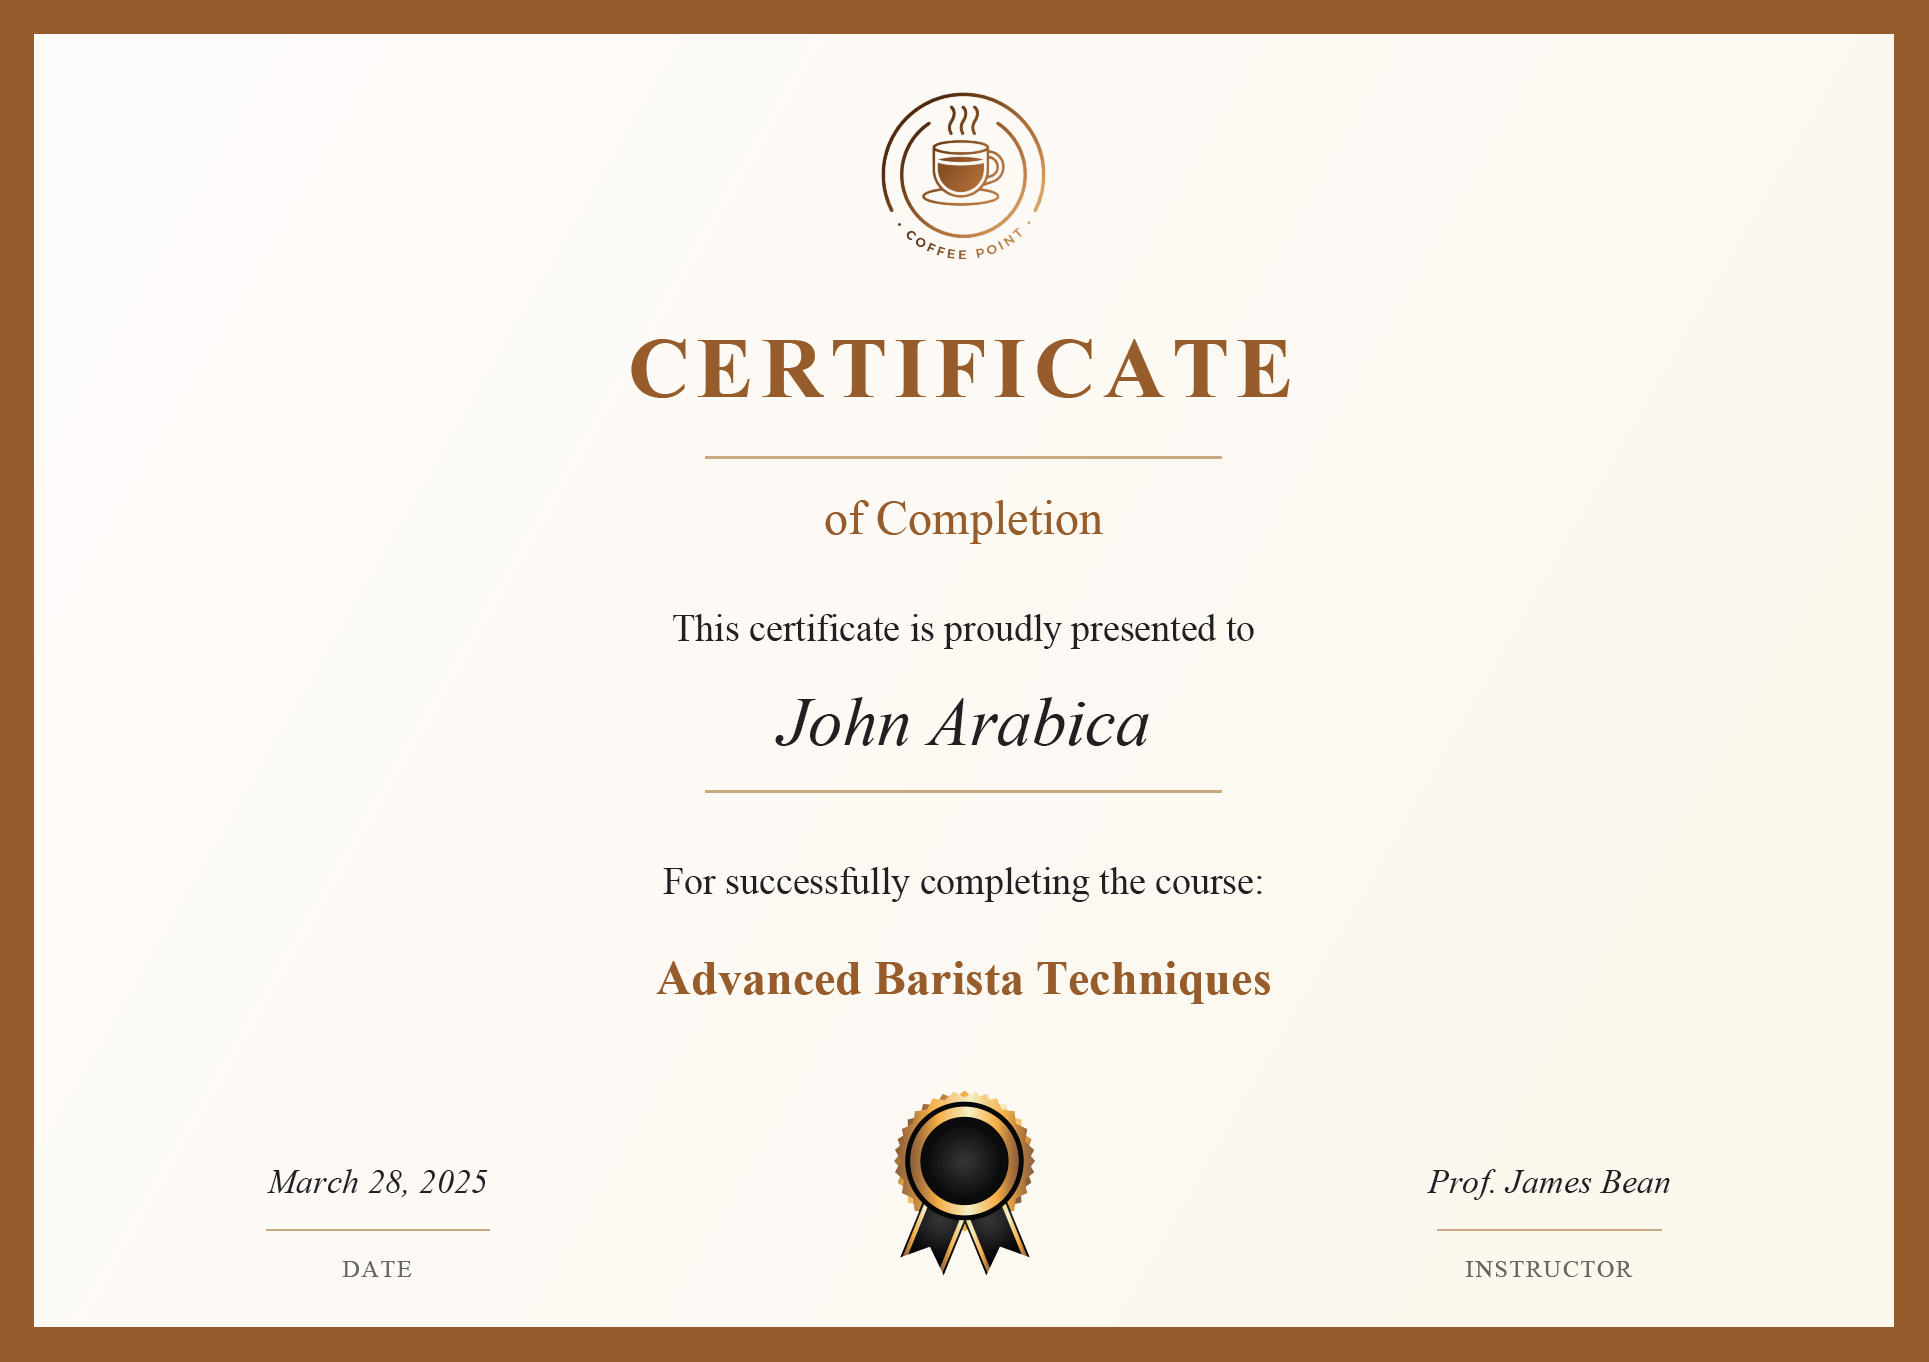
Certificate Preview
Here is an example of the generated certificate:
Taking it Further
The certificate example covers the core pattern – template plus data model plus PDF conversion. From here you can extend it in several directions:
- Batch generation from a CSV file or database query.
- More complex layouts with multi-page documents and table of contents.
- PDF features like encryption, digital signatures, or interactive form fields.
- Different document types: invoices, reports, tickets, contracts.
For a comparison with other Java PDF libraries like OpenPDF, Flying Saucer, or Apache PDFBox, see Top Java PDF generation libraries.
Simpler Alternative: PDF Templates
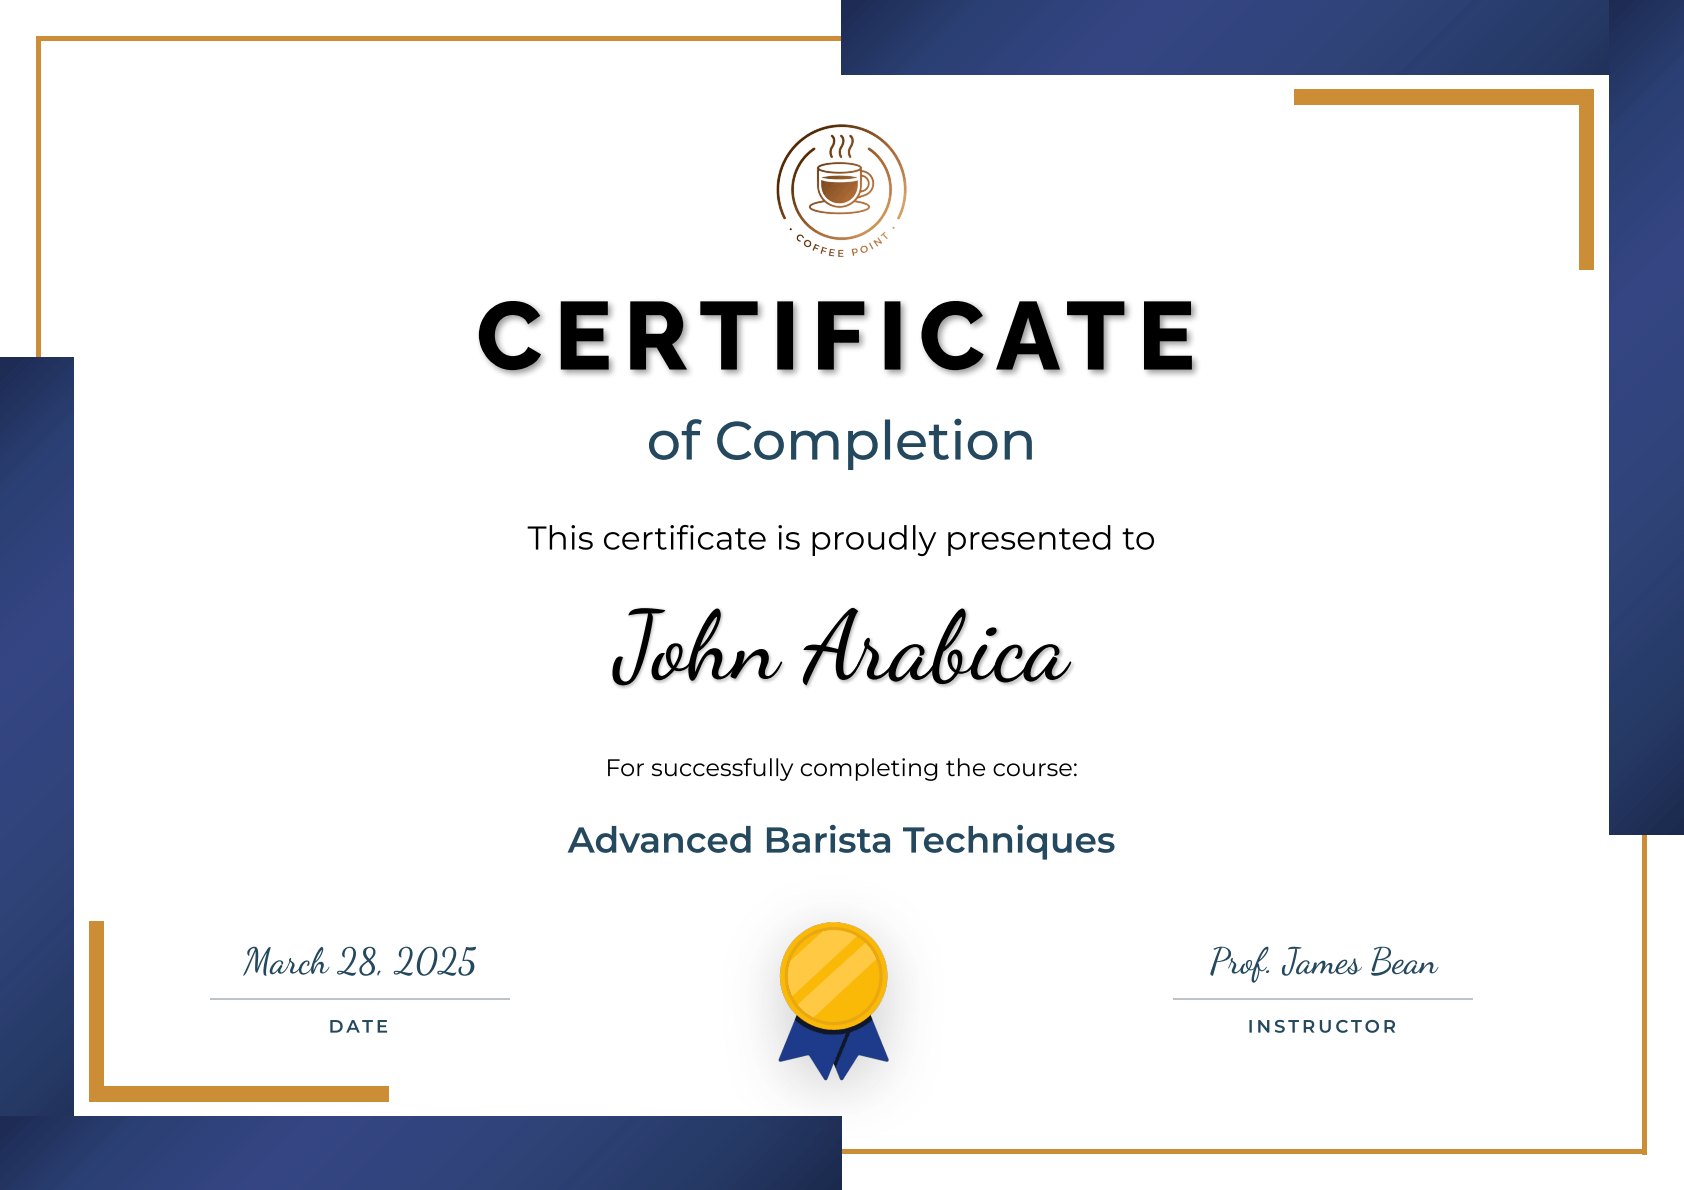
The iText + FreeMarker setup works well, but it requires multiple classes, dependency management, and server-side rendering infrastructure. If you want to skip that setup, a PDF generation API like PDFBolt can produce the same result with a single HTTP request.
The same certificate, generated with PDFBolt's template system:
Step 1: Create Your Template
- Sign up at PDFBolt and navigate to Templates.
- Use the visual designer to create your certificate layout or choose a template from the gallery (in this example we chose a certificate from the gallery).
- Customize the existing template and test it with sample data in the app.
- Publish your template to get your template ID.
Step 2: Generate PDFs with Simple API Calls
- Get ready-to-use code snippets by clicking Get API Code in the template interface.
- Insert your data into the
templateDataobject.
Java Implementation
import java.net.http.HttpClient;
import java.net.http.HttpRequest;
import java.net.http.HttpResponse;
import java.net.URI;
import java.nio.file.Files;
import java.nio.file.Paths;

public class PDFBoltIntegration {
    public static void main(String[] args) throws Exception {
        String jsonBody = """
            {
                "templateId": "e659e813-52ac-4fcb-a911-b6737f115386",
                "templateData": {
                    "date_label": "Date",
                    "organization_logo": "https://img.pdfbolt.com/logo-example-certificate-iText.png",
                    "certificate_type": "Certificate",
                    "certificate_subtitle": "of Completion",
                    "certificate_intro": "This certificate is proudly presented to",
                    "recipient_name": "John Arabica",
                    "course_intro": "For successfully completing the course:",
                    "course_title": "Advanced Barista Techniques",
                    "completion_date": "March 28, 2025",
                    "instructor_name": "Prof. James Bean",
                    "instructor_label": "Instructor"
                }
            }
            """;

        var client = HttpClient.newHttpClient();
        var request = HttpRequest.newBuilder()
            .uri(URI.create("https://api.pdfbolt.com/v1/direct"))
            .header("API-KEY", "XXXXXXXX-XXXX-XXXX-XXXX-XXXXXXXXXXXX")
            .header("Content-Type", "application/json")
            .POST(HttpRequest.BodyPublishers.ofString(jsonBody))
            .build();

        var response = client.send(request, HttpResponse.BodyHandlers.ofByteArray());

        if (response.statusCode() == 200) {
            Files.write(Paths.get("certificate_pdfbolt.pdf"), response.body());
            System.out.println("PDF generated successfully");
        } else {
            System.err.println("HTTP " + response.statusCode());
            System.err.println("Error Message: " + new String(response.body()));
        }
    }
}
Instead of managing multiple Java classes and template configuration, you send an HTTP request with your data and get a PDF back. At higher volumes, the API also handles concurrency and scaling on its side, so you don't need to manage rendering infrastructure yourself.
Verify the result
Explore PDFBolt's template capabilities:
- Template Documentation – Complete guide to template creation and management.
- Java Integration Examples – Code samples for Java applications.
- PDF Templates Gallery – Pre-built professional templates.
iText converts HTML using its own rendering engine which may not support all modern CSS and JavaScript. For full browser rendering, PDFBolt HTML to PDF API uses headless Chrome so pages look exactly as they do in the browser.
Conclusion
iText and FreeMarker give you full control over Java HTML to PDF conversion – you own the rendering pipeline, the templates, and the output. FreeMarker keeps your document design separate from the data logic, which makes templates easy to maintain and reuse across different document types.
If you want to skip the infrastructure work, a template-based PDF API like PDFBolt can produce the same output with less code and no server-side rendering setup – see the Java quick start guide to get started. The right choice depends on how much control you need versus how quickly you want to ship.
May your PDFs always be perfect and your coffee be strong enough to fix any bug! ☕